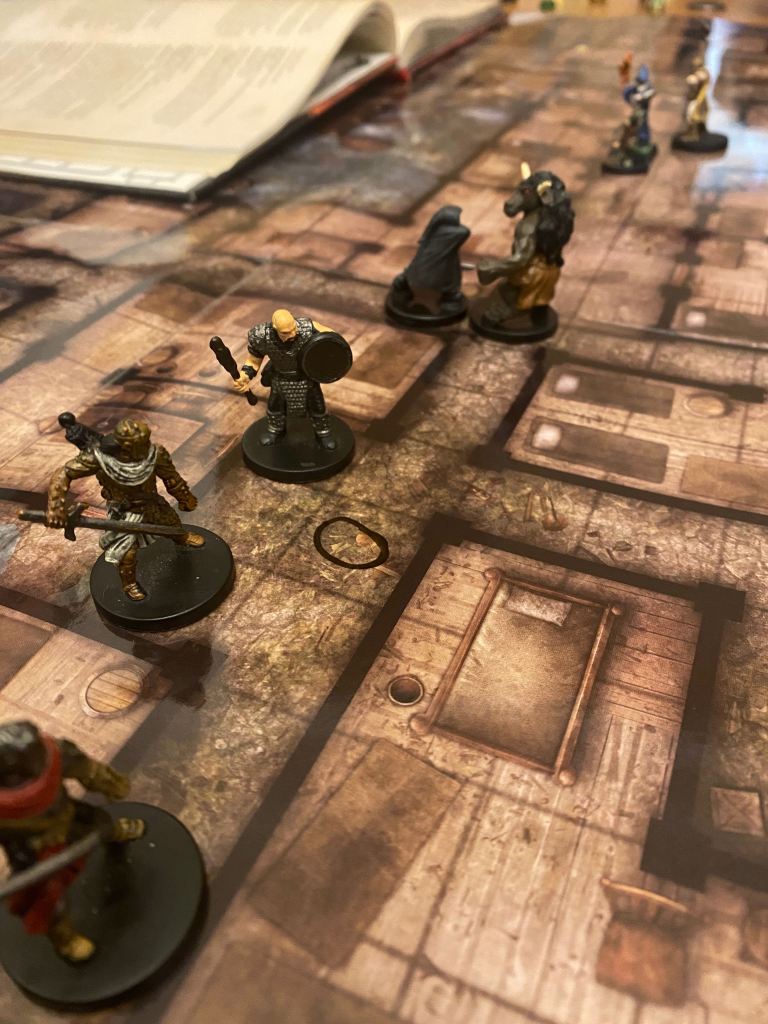
Here’s the write up from our third proper Tomb of Annihilation session. The PCs are in Port Nyanzaru and we finished the last two mini-adventures in the AL module, A City on the Edge. My plan is to run The Jungle Has Fangs trilogy next, interspersed with one or two encounters from Encounters in Port Nyanzaru.
Begin here with Session 0 – Caves of the Cockatrice
24th Eleasias, 1495 DR
The adventurers visit Klevan Van’Sheran of the Lords Alliance at his upmarket arts and crafts shop in the Grand Bazaar. Klevan explains that criminals have been smuggling stolen and black-market merchandise into the city using secret tunnels between Tiryki Anchorage and the Harbour District. He hires the characters to investigate.
The party spot a group of dodgy looking fellows lurking in an alley in Tiryki Anchorage. Tharhul charges in, killing one of the lurking brigands. Once the crooks have been dealt with, the characters unlock the grate and climb down into the tunnel and vandalise the pulley system used by the smugglers.

Rhamash leads the way. After a while he spots strange markings on the wall, like the ones beneath the ziggurat in the Old City. The kobold opens the secret door and enters a dusty tunnel, followed by the others. Soon afterwards, he blunders into a trap, but manages to leap out the way when a stone block falls from the ceiling.
The end of the secret passage joins with the main corridor, and the characters follow it until they reach a suspicious looking pair of double doors. Certes uses his mage hand to press the switch by the door, deactivating the trap. Rhamash opens the doors and creeps up the ramp to the warehouse above. When he hears voices, he turns back. The characters decide to leave the warehouse alone for now. Certes rearms the trap and they explore the rest of the tunnels. When they spot a network of threads across the corridor, Certes casts fire bolt to burn them away. Instead, he triggers the trap, but fortunately the group are too far away to be affected.

Back at the warehouse, the characters encounter Sanuya the mage and her lackeys. Eysleigh summons his mysterious companion the Green for the first time, and Certes sends one of the brigands to sleep. After three of her companions have fallen, Sanuya surrenders, offering the characters a trinket she says is valuable to the Ytepka Society. This trinket looks like the others the party have found. They let Sanuya and her one surviving ally go, then have a short rest.
Rhamash finds a velociraptor egg when they search the warehouse. Tharhul takes the egg, hoping it will hatch into a loyal pet.
The group report back to Klevan who pays them. He tells them that Sanuya’s boss, Nahurali, is likely a member of the criminal group known as the Twelve.
Next, the characters take the trinket to Kaya’s House of Repose where they find Soggy Wren and Nerissa. Wren has Nerissa assemble the four pieces into a single creepy amulet. He asks the adventurers to take it to Diamssar, his contact in the Ytepka Society, who can be found at the Bathhouse. Nerissa offers to come with them.
The characters and Nerissa meet Diamssar who takes them to the Northside Market Textile House. The group are very suspicious and so unsurprised when Diamssar, his men, and his pet giant snake attack when they get inside. Rhamash kills Diamssar but falls unconscious, poisoned by the giant snake. The kobold is healed by Eysleigh who summons the Green again. Tharhul kills one of the cultists, and Certes’ sleep spell takes down the last man standing.

The characters rescue a pair of wretched captives – an elf and a tabaxi – from the upper floor where they have been chained to the wall. Beyond the door at the rear of the warehouse is an overgrown area where the party face Lekhet, a yuan-ti pureblood, and three broodlings. The adventurers take down the broodlings first, then deal with Lekhet. Rhamash delivers the killing blow to the yuan-ti, and the characters can recover the amulet which Lekhet summoned into her hands at the start of the battle.

They return to Kaya’s where they find Wren, Klevan, Alastar Bol, Pock-Marked Po, and Screaming Wind together. The faction representatives thank the group for dealing with the yuan-ti threat to the city. Wren promises to dispose of the amulet safely.
If you’d like to keep up to date with my Tomb of Annihilation campaign and other posts, please do join my mailing list – there’s a sign up form on the home page and subscribers receive a free Parsantium supplement.
Discover more from Richard Green | Game Designer
Subscribe to get the latest posts sent to your email.
