Courts of the Shadow Fey was the third 4th Edition Open Design project from Kobold Press. I ran the adventure in 2011 as part of the same Parsantium campaign as Wrath of the River King and Halls of the Mountain King.
This is a really fun but tricky adventure to run so hopefully these write-ups will prove useful to other GMs.
Begin here with Session 1 – A Chill in the Air.
27th December
The characters go to see if Maggo the goblin “king” knows anything about the Spiral Maze or the Moonlit King. He warns the party not to let the King see their true forms. Perhaps they can disguise themselves magically, or else, with large hats? Sceptical, Saethus goes to see Revich again and is told the goblin is talking nonsense.
There’s nothing for it but to head into the Spiral Maze, using the ceremonial daggers they were given by the Queen to get past the monolith footmen and open the door. The party enter the labyrinth, using the tried and tested tactic of always turning left until they end up back where they started. As they wander through the dark avenues between the thorny hedges and black stone walls, the party glimpse a floating eyeball watching them. As soon as they notice it, it disappears into the foliage.
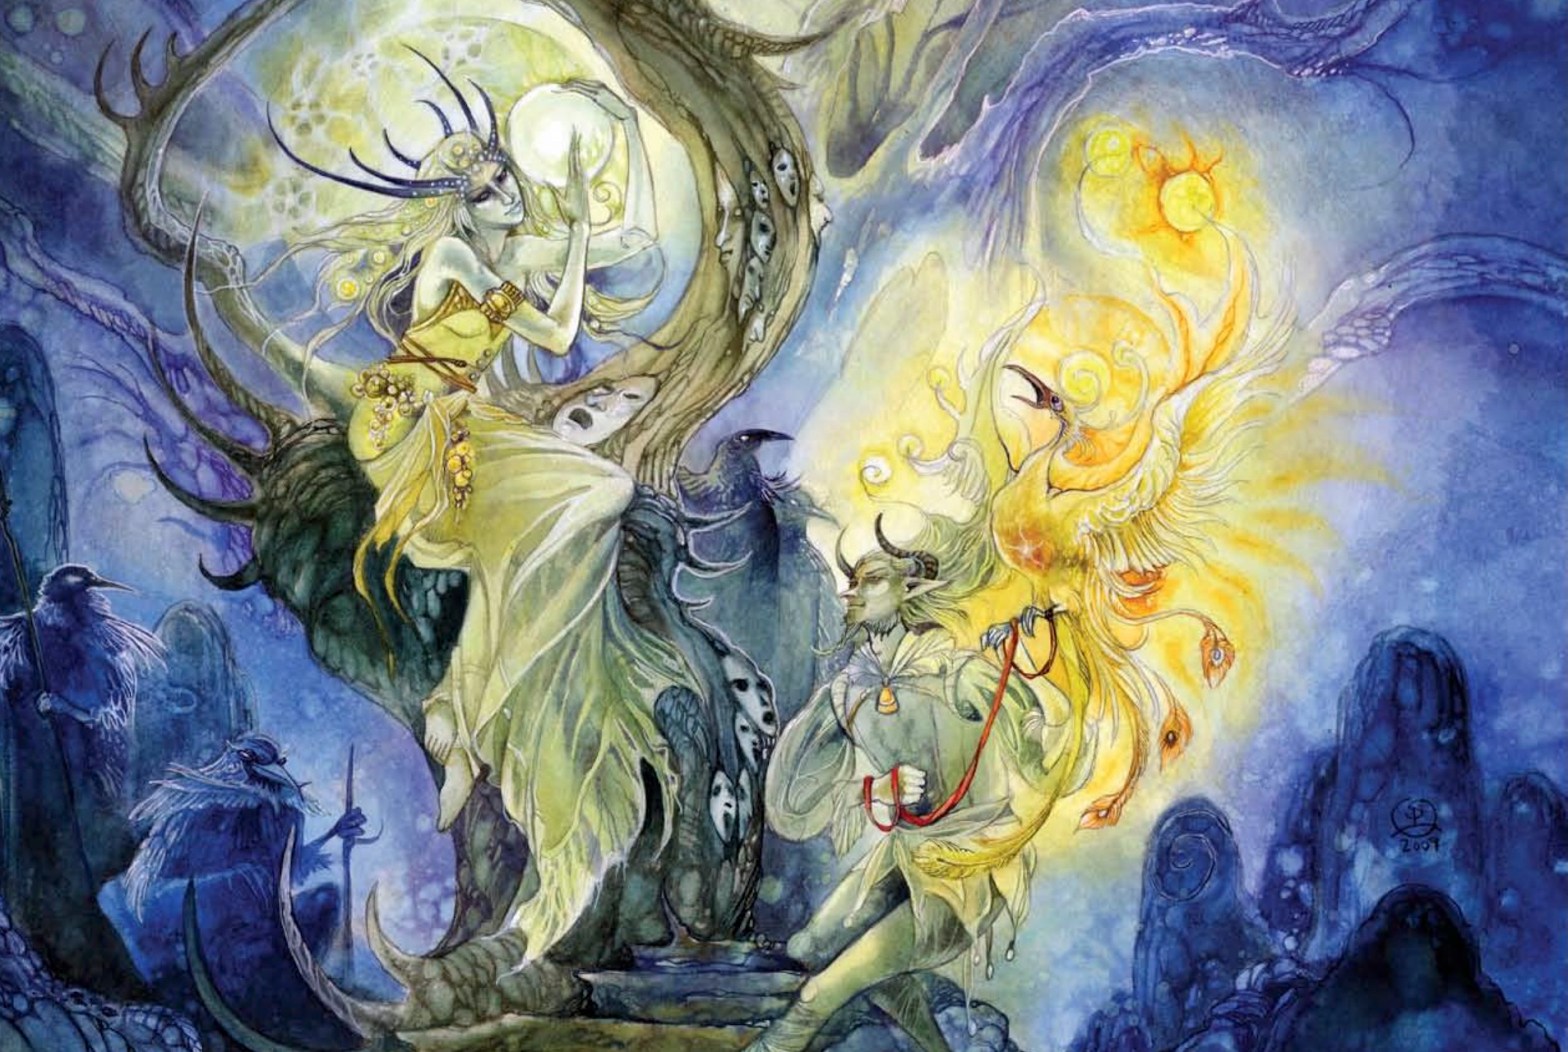
Mal’uk uses his teleport power to get on top of the maze walls and works out where the Tower of the Moon is located. The characters set off again, aiming for the light coming from the tower. In a clearing, lantern dragonettes gather around a brazier for warmth. Ella approaches recklessly, and the dragonettes flee to their roosts as the brazier’s magic roots her to the spot and shadow demons rise out of the ground to attack the party. Both demons surround themselves and the party with magical darkness, although Saethus is able to dispel one of the zones quite quickly.

Mal’uk tries to get close enough to the brazier to destroy it but keeps getting immobilised by its magic and attacked by a shadow demon. Eventually he is able to banish the annoying magical trap to another plane, and Khuma slays the first shadow demon after Ella has weakened it with her radiant longsword. The second demon flees into the walls of the maze and the lantern dragonettes reappear.
Mal’uk creates a magical campsite for them with a campfire to keep them warm after getting rid of their brazier. The little dragons talk to the characters for the first time, telling them where to search beneath the maze walls for treasure. The genasi conjures an unseen servant to dig it up, discovering a chest containing a +4 duelist’s bow and two potions of vitality.
The party continue to wander the labyrinth, entering a dense, confusing hedge maze after leaving the dragonettes behind. Their route leads them into a large area with a vine-covered tree in the centre. Four gaunt troll skeletons and an evil-looking dryad stand underneath the dead branches. The duskthorn dryad traps Mal’uk in her briar cage as the troll skeletons attack the other characters. Saethus conjures his flaming sphere to stop the trolls regenerating, then Ella uses her new bow to shoot at their hearts hidden in the branches of the tree, killing them for good. With the trolls destroyed, the dryad and the vindes fade into the ground.

If you’d like to keep up to date with my Courts of the Shadow Fey campaign and other posts, please do join my mailing list – there’s a sign up form below and subscribers receive a free Parsantium supplement.
Discover more from Richard Green | Game Designer
Subscribe to get the latest posts sent to your email.
