
Here’s the write up from our latest Scarlet Citadel session. The characters have returned to Level 4 of the dungeon so they can summon the chort devil Vuxarix using the skull portal and repay their debt.
Last session, the characters defeated the many bats in the Bat Cavern, but this time they faced the derro bat cult and its leader, Gilsfeyr, a speaker in darkness (Creature Codex). We were down to just the three clerics again this session and the adventurers ended up in serious trouble against the derro. A second TPK was on the cards but they managed to escape on flying broomsticks. It was fun to see granny wax, a magic item I’d created for Kobold Press, get used in their escape.
You can read earlier posts here. This post contains spoilers for Scarlet Citadel.
Gilsfeyr summons three ghasts, then envelops Clairmont in magical darkness. Meanwhile the derro pariahs fire crossbows at the characters from the ledge around the cavern.
The ghasts advance, attacking Clairmont with advantage, and the cleric is paralyzed. He fails his saving throw to end the paralysis and the ghouls start taking bites out of him, triggering his death ward.
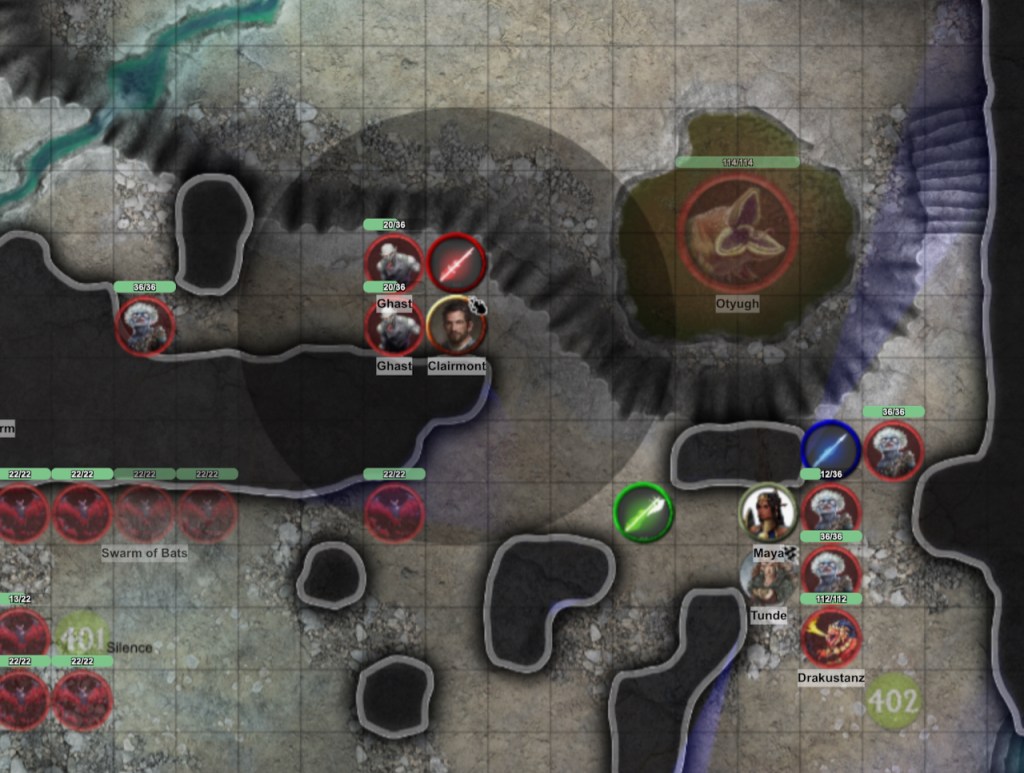
Tunde uses misty step to reach Clairmont and heal him, then Maya cures the paralysis. Clairmont explodes into radiance, dispelling the darkness and killing the ghasts, but Gilsfeyr immediately summons replacements.
Clairmont fails another Con save (I have rarely seen a player fail so many consecutive saving throws!) and becomes paralyzed again. The second group of ghasts begin feasting on the helpless cleric! Maya is also running low on hp but her death ward kicks in, keeping her in the fight.
Tunde revives Clairmont and he casts wall of fire, burning the ghasts, but the witch is now trapped on the wrong side of the wall and can’t help the other characters.
Clairmont heals Maya several times while she fights Drakustanz, the dragonborn gladiator drugged by the cult. Eventually Maya takes Drakustanz down and the party are able to rub granny wax on the broomsticks they’ve been carrying in their bag of holding and fly up to the dwarven barracks for a much-needed long rest!
After recuperating, the characters cast more death wards, then return to the Bat Caverns. Clairmont casts silence in the first cave so the group can sneak past the bat swarms.
Back in the large cavern, the characters battle Gilsfeyr, his summoned ghasts, derro pariahs and a pair of shadow antipaladins. This time, things go much better for the adventurers. Maya turns the ghasts, Clairmont casts daylight to nullify Gilsfeyr’s darkness, and all three clerics summon their spiritual weapons.
Maya moves around to attack Gilsfeyr triggers the collapsing ledge but Gilsfeyr (i.e. me!) misjudges where it’s safe to stand, and also falls down to the cavern floor when the ledge crumbles. Maya is trapped under the debris but escapes. Gilsfeyr attacks her in melee; she is down to her last few hp when Clairmont creates another wall of fire to rescue her.
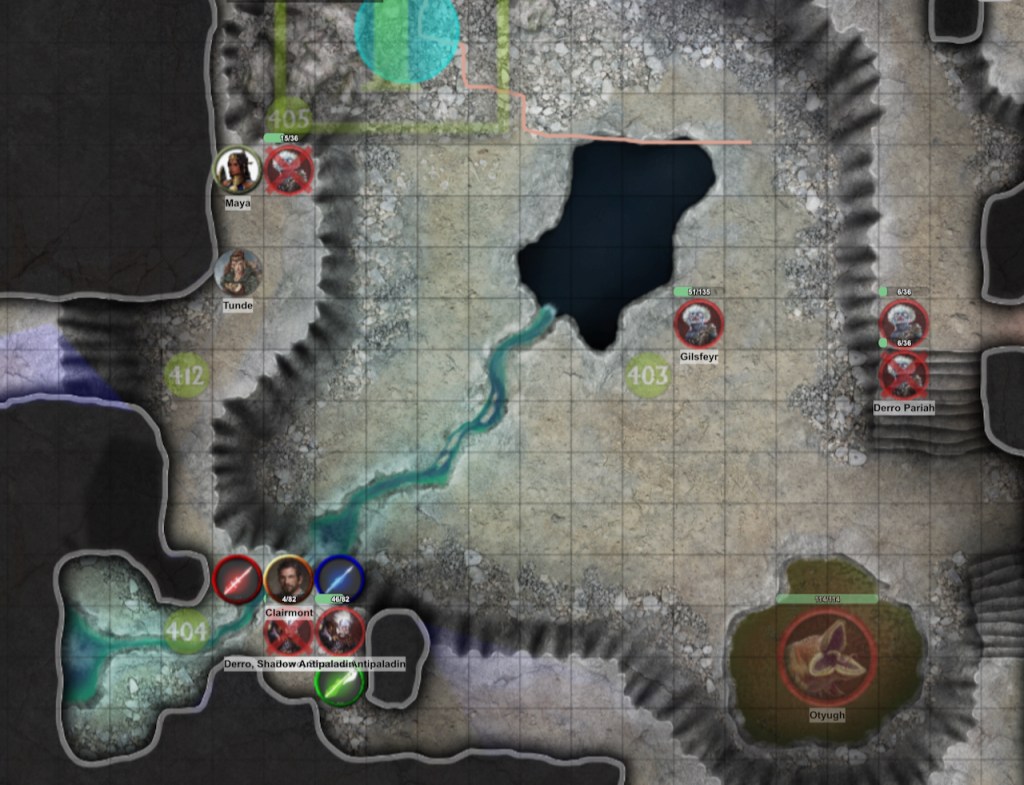
Clairmont battles one antipaladin under protection from sanctuary while a second one sneaks round to attack him. Gilsfeyr is reduced to attacking ineffectually with his sling after summoning a third ghast. (Derro speakers to the darkness have limited attack options if their darkness and ghasts are nullified).
Tunde burns the two derro pariahs that shoot her with hellish rebuke, the antipaladins are both killed, and Clairmont slays Gilsfeyr with toll the dead. The Bat Cult have been defeated! Tunde casts prayer of healing to restore the party’s health.
If you’d like to keep up to date with my Scarlet Citadel campaign and other posts, please do join my mailing list – there’s a sign up form on the home page and subscribers receive a free Parsantium supplement.
Main image by David Auden Nash
Discover more from Richard Green | Game Designer
Subscribe to get the latest posts sent to your email.
