Tyranny of Dragons was the first full D&D 5e campaign I ran, starting back in 2015.
Here’s the write up from the 35th session, in which the PCs continued to explore the maze surrounding Xonthal’s Tower before finally entering the tower itself.
I expanded the descriptions of the maze in the adventure to make this location my own, adding a “Dread Gazebo” (house hunter) and the caterpillar (behir) encounter from the classic EX1 Dungeonland, as well as ideas from Gardens of Ynn. I was delighted to have an opportunity to feature a house hunter again after my wife’s characters wisely decided not to investigate a mysterious empty village full of the giant mimics in an adventure I ran for her back in the day!
Begin here with Session 1 – Greenest in Flames.
28th Alturiak, 1491 DR (contd.)
The adventurers defeat the bellowing gorgon without anyone being petrified and use the diamond that crystalized from its breath to return to the third sundial.
This time, they decide to take the path the blue fox took (at 3 o’clock). Unfortunately this proves to be another wrong path, leading to a summer house in the middle of a large lawn.
Hearing voices, Crake approaches stealthily, only for the structure to reveal itself as a house hunter – a giant mimic capable of disguising itself as a building – and the rogue is grabbed by its tentacles and sticky tongue. Gwastdyn wild shapes into an earth elemental and moves up to attack but is also grabbed and then swallowed by the beast. Turin casts Otto’s irresistible dance but the house hunter doesn’t dance for long, and Ug’s slash, Rosie’s agonising blasts and Turin and Crake’s blades and arrows are needed to kill it.
Gwastdyn is disgorged, covered in acidic slime, but climbs back inside to retrieve the emerald needed to return to the sundial.

This time they take the correct path, going back the way they came, and find themselves at the fourth sundial where there are four shadows in an X shape which spin faster and faster before disappearing into the sundial. Wounded and low on spells, they take a short rest, and again take the path they entered the area by.
This is another wrong path, leading to a clearing where a huge blue caterpillar sits on top of a giant mushroom, blowing smoke rings from a hookah. Turin catches a smoke ring which turns itself into a gold necklace. When the caterpillar blows five more rings, Turin catches his and gets another necklace, Ug is surrounded by a stinking cloud, and Crake is trapped by a rope of entanglement. Annoyed, the characters attack the caterpillar – Gwastdyn uses wild shape to turn himself into a giant elk and Rosie casts contagion to blind the creature but it can breathe lightning and isn’t easy to kill. Finding a sapphire inside its hookah, they return to the sundial.
The blue fox reappears and offers more cryptic advice, telling the characters there are nine possible paths, before wandering off again. Rosie encourages the others to investigate the sundial. They try and turn it, push and pull it, and dig up the flagstones surrounding it. Then, the warlock stands on top of it and she vanishes! The others follow, finding themselves at the fifth and final sundial.
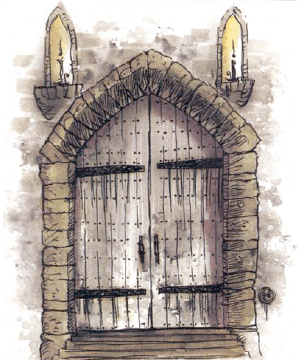
This time, Rosie solves the puzzle quickly by running through the hedge between the paths. The rest of the party follow and they at last escape the maze, appearing at the bottom of the tower. After checking out the body of the fallen cultist, they use the teleportation circle to enter the castle, arriving in the lounge, where is a metal panel on the wall marked with various strange symbols.
Rosie levitates up to one of the two balconies in the room and uses the teleportation circle to come back down again.
After experimenting a bit more, the characters touch the star symbol to teleport to the observatory. Here, they battle a mage and his three cultist aides. Rosie kills the three cult fanatics with synaptic static, then traps one of their souls in her soul cage. After the mage fireballs the party and retreats to the balcony, Gwastdyn summons a polar bear to attack alongside Ug. The wizard doesn’t survive for long and the party are able to grab the hourglass hanging from his belt. Touching it to the hourglass symbol above the panel, they teleport to the dungeon.
More dead cultists lie on the floor in the room where they arrive. Rosie questions the soul she has trapped about the dungeon but learns little of use.

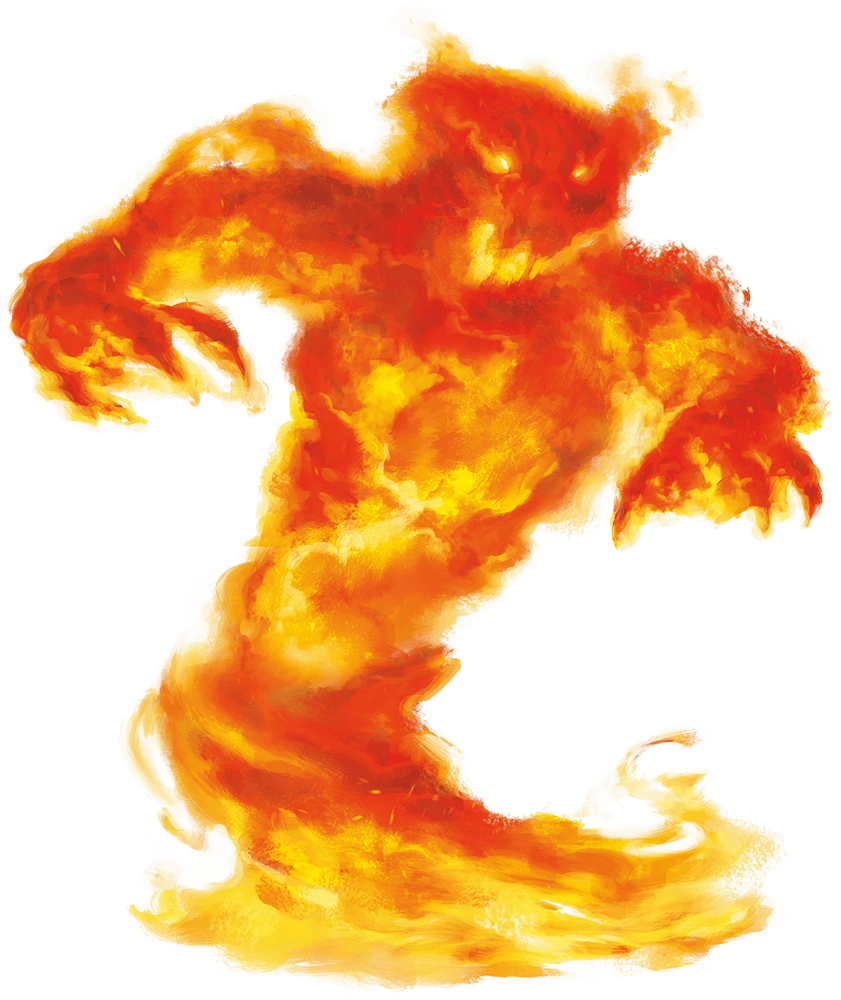
The next room holds two earth elementals and a fire elemental. Low on resources, Rosie uses mage hand to retrieve the small chest sitting on the table and Crake opens it, bypassing the glyph of warding. Inside are three scrolls of protection vs elementals. Crake reads one of the scrolls and the others crowd round him to move safely through the room, thereby dooming the poor polar bear.
A side passage leads to a laboratory where gemstones swirl around inside a whirlwind, while ahead the walls of the corridor disappear and the passage extends through the void of space.
Narrowly avoiding a swarm of tiny meteors, the characters make it into the library where they take a much-needed long rest.
If you’d like to keep up to date with my session write ups and other posts, please do join my mailing list – there’s a sign up form on the home page and subscribers receive a free Parsantium supplement.
Tiamat image by Michael Komarck
Discover more from Richard Green | Game Designer
Subscribe to get the latest posts sent to your email.
