Here’s the write up from our latest Tomb of Annihilation session, in which the adventurers continued upriver to the ruins of Mezro. I used the mini-adventure Beautiful Plumage from Jungle Treks in this session and it worked really well.
Begin here with Session 0 – Caves of the Cockatrice
9th Uktar, 1495 DR
Troubled by the graffiti found on Vorn, Certes decides to stay behind in the camp and catch up with the others as soon as he can. The rest of the party head upriver in their canoe guided by Eku.
The River Tiryki narrows as it heads into the dense jungle. In the afternoon, the party spot swallows flying in and out of a series of caves in a rock wall above the east bank. Rhamash and Tharhul climb up to investigate and discover one of the caves is deeper than the others. They throw a rope down so Nanna and Eysleigh can join them.
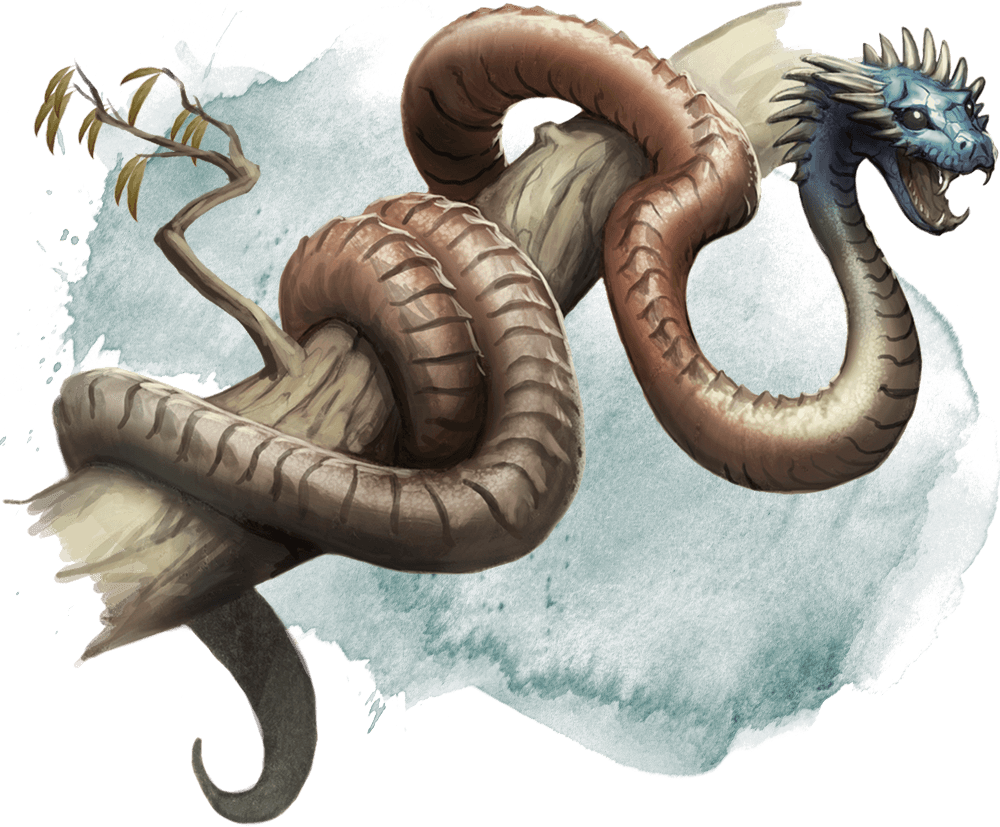
Nanna marches into the cave in search of ancient artifacts and is attacked by four lurking jaculi as she goes to check out the bones and gear strewn on the cavern floor. The others rush in to help.
Once the serpents have been killed. Nanna and Rhamash skin the jaculi, harvesting several large pieces of snakeskin to be made into boots of striding and springing or cloaks of invisibility.
10th Uktar
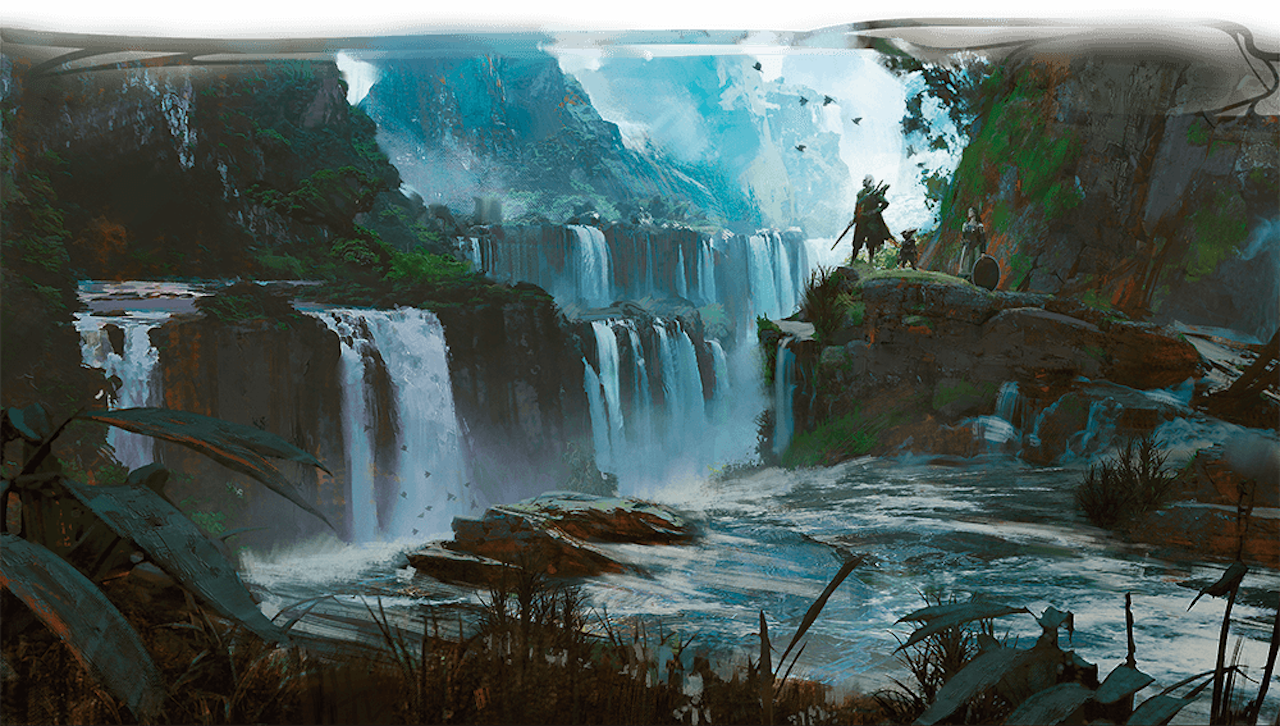
Twin waterfalls prevent the characters from paddling upriver. Instead, they must portage their canoe around the falls. They spot a trio of aarokocra watching them from a crag. Rhamash calls out to them in Aarakocran and the birdfolk swoop down to talk to the party. Their leader, named Zakierk, tells them about the ruins of Mnonga further upstream, home to a tall watchtower, rumoured to be filled with ancient treasure.
That afternoon, the characters reach Mnonga and pull into the riverbank. Eysleigh casts pass without trace, and they cautiously approach the ruins through the jungle, skirting around the outside of the clearing. Eysleigh and Nanna spot a masked goblin among the rotting buildings. This is the ghost of Bokadoka, long-dead chief of the Big Wallop tribe.
Bokadoka possesses Nanna’s body and insists on marching on the watchtower to rid it of “flying dinomen”. The other characters follow the gnome, unsure why she is speaking in Goblin and acting weirdly.

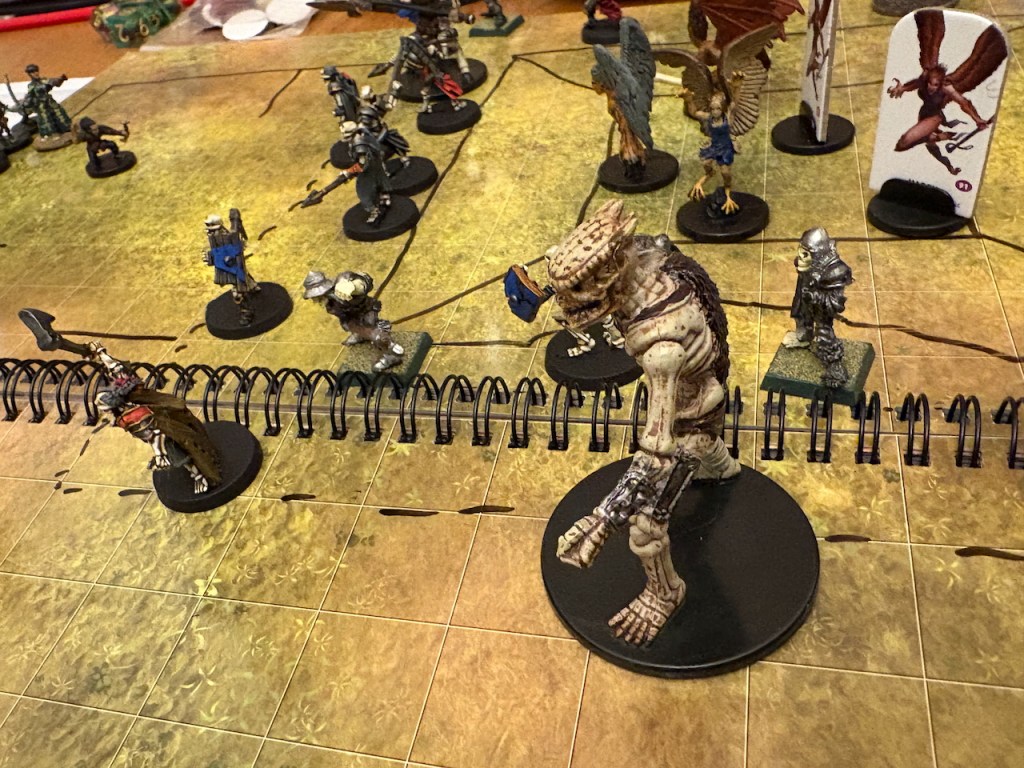
When the group enter the ruined fort, they can see several brightly feathered harpies on the top of the tower and piles of bones around its base. Moving closer causes a dozen skeletons and two minotaur skeletons to rise and attack. Eysleigh casts spike growth, destroying several skeletons when they advance towards the party. Bokadoka/Nanna makes straight for the watchtower, followed by Eysleigh and Tharhul who are charmed by the harpies’ singing. Rhamash around the spiked area. Eysleigh shakes off the charm, but Tharhul is compelled to climb the tower to reach the harpies. He loses his grip and falls off, landing at the feet of a minotaur skeleton who strikes him with its greataxe reducing him to 0 hp. Eysleigh casts healing word so Tharhul can withdraw.
Meanwhile, Rhamash kills the other minotaur skeleton, and Nanna falls through the rotten first floor of the tower. Eku arrives on the scene to cast cure wounds on the wounded characters, and the whole party retreat to the beach for a short rest.
Once everyone has healed, Bokadoka/Nanna is keen to return to the tower to deal with the “pterafolk”. Before they go back, the others block their ears with mud and plants to deaden the harpies’ song and Tharhul casts pass without trace to mask their approach.
As Eysleigh, Birdie, Rhamash and Tharhul battle the harpies and skeletons outside, Nanna enters the tower and climbs up to the second floor where she is attacked by a pair of harpies. Badly wounded, she retreats to the floor below when a third harpy arrives. Rhamash climbs up the tower and through a window to help, killing a harpy.
By now, Eysleigh and Tharhul have dealt with their opponents. Fittingly, it is the possessed Nanna who slays the final harpy. Bokadoka’s ghost leaves the gnome’s body, fading away once she has shown the party where the goblins hid some gemstones. The characters search the harpies’ disgusting nest and gather their loot before taking a much-needed long rest.
If you’d like to keep up to date with my Tomb of Annihilation campaign and other posts, please do join my mailing list – there’s a sign up form on the home pageand subscribers receive a free Parsantium supplement.
Discover more from Richard Green | Game Designer
Subscribe to get the latest posts sent to your email.
