Here’s the write up from our latest Tomb of Annihilation session, in which the characters continued exploring the ruined city of Omu in search of the nine puzzle cubes they need to enter the Tomb of the Nine Gods.
Begin here with Session 0 – Caves of the Cockatrice
29th Nightal, 1495 DR (contd.)
The adventurers head north from the abandoned campsite of the Company of the Yellow Banner. They haven’t gone far when they spot a Red Wizard and four guards walking along the top of the wall to the east. The characters sneak cautiously through the ruined buildings to avoid being spotted.
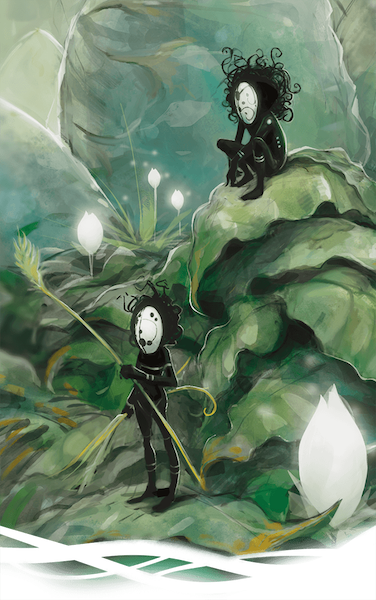
They reach an overturned wagon on the street ahead with a garland of freshly cut jungle flowers hanging from its tongue. Certes uses mage hand to lift the garland, drawing the attention of the bees living in a hive attached to one of the wheels. Eysleigh casts barkskin on Tharhul to protect him from stings, then the minotaur casts animal friendship and attempts to befriend the bees. The bees don’t bother him as he examines the stone disc half-buried in the mud under the wagon. When Tharhul pulls the disc out to read its inscription, he discovers a friendly chwinga and lets the little fellow stroke his beard.
The inscription reads: “Queen Napaka proclaims that the free people of Omu fear nothing. Brave new gods protect us, as Ubtao did before but does no longer. Omu will rise again, and Napaka shall reclaim all that is hers by right of conquest.”
Tharhul casts beast sense and sends Buzzter off to look for the Red Wizard. The giant wasp doesn’t spot the mage but does discover another shrine to one of the Nine Gods on the eastern side of the wall.
There are tracks outside the shrine – it’s obvious someone has been here in the past day or so. They return to the stairs where they last saw the Red Wizard, and Tharhul searches for tracks there, but can’t find a trail.
Returning to the shrine, the characters work out it is dedicated to Wongo the su-monster. Buzzter flies inside and discovers four dead su-monsters and the body of a Thayvian mercenary lying beneath Wongo’s statue. Certes and Tharhul investigate the other four entrances which lead to the backs of animal masks with a view into the central chamber. Cryptic inscriptions and rays of blue light offer clues about the statue.
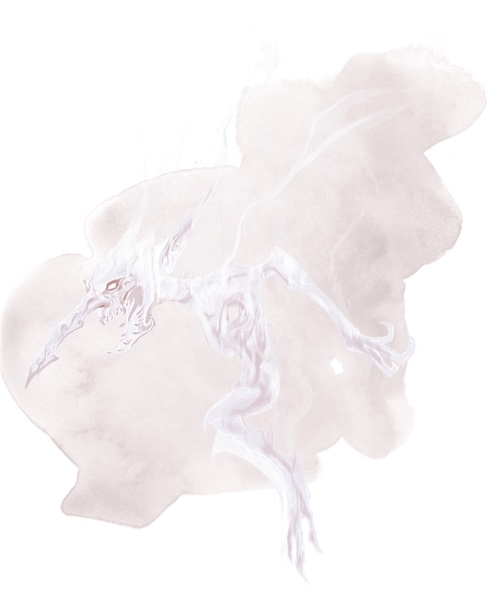
Deciphering the clues, the characters determine that they need to pour water into the statue’s cupped left hand, but when they do this, nothing happens. It looks as if the puzzle cube has already been taken! Rhamash double checks by pouring water into a different hand, and two steam mephits appear. Eysleigh blasts them with his wand of fear and both vanish.
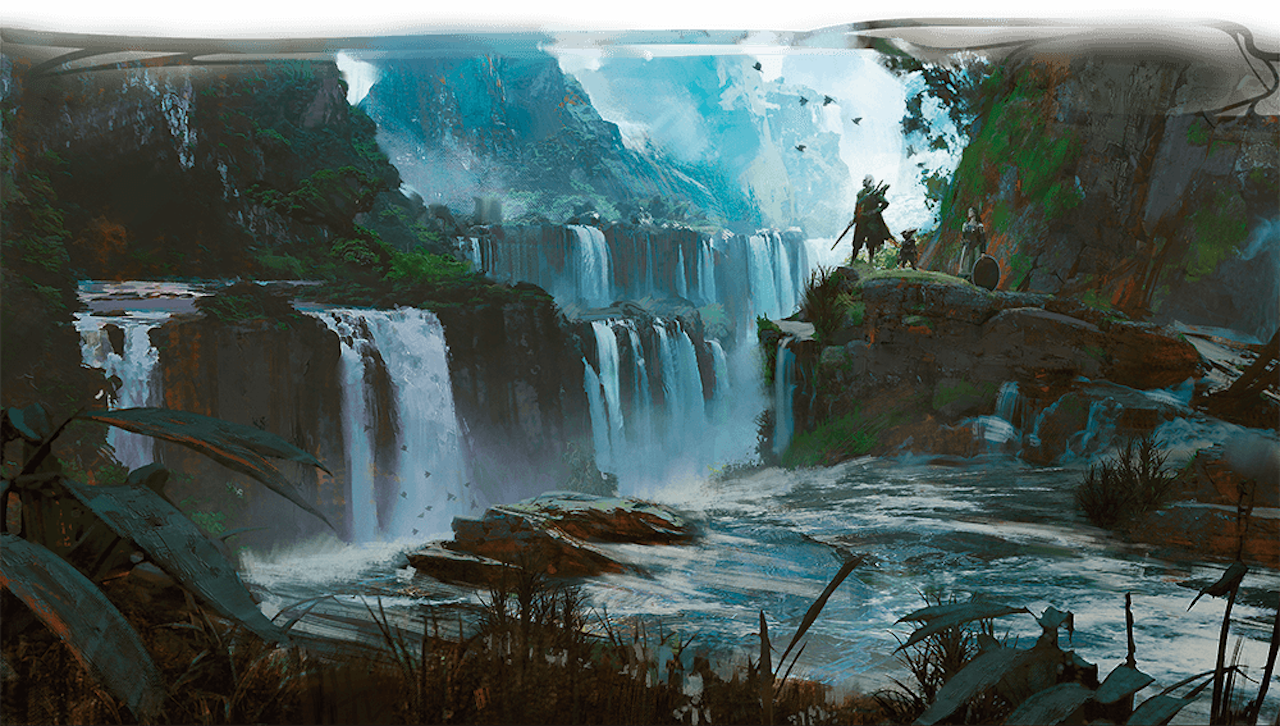
The characters cross back over the wall to the western edge of the city. When they draw close to the amphitheatre, they spot huge, clawed footprints in the mud, over five feet in diameter, as well as several long, colourful feathers. Deciding they don’t want to run into a feathered T-rex, they beat a hasty retreat.
Back on the eastern side of the wall, Tharhul feels strangely drawn to an obelisk close to the northern wall of the crater. He realises this is the obelisk from his vision, marking the entrance to the Tomb of the Nine Gods. The group decide to return when they have all nine puzzle cubes.
Outside Ijin’s Shrine, Tharhul spots an almiraj as he looks for tracks. When the creature dashes into its burrow, Eysleigh summons the Green who lures it out with a trail of goodberries. The druid casts speak with animals and chats to the almiraj but it doesn’t have anything useful to share.
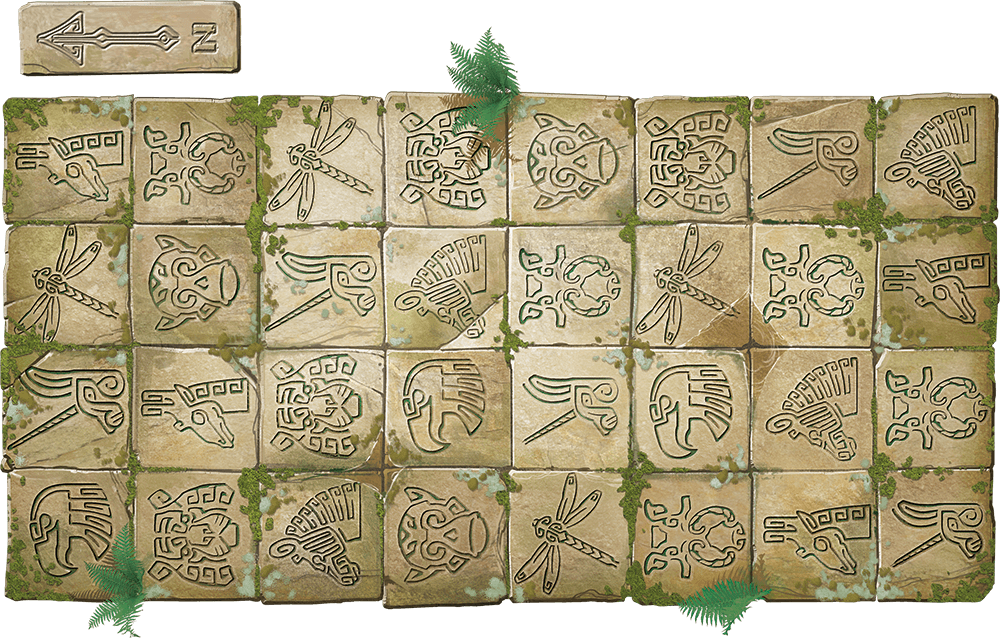
Inside the shrine, the tiled hallway is decorated with images of different beasts. Knowing they need to follow “the path least expected”, Rhamash figures out that the characters must cross the hall by stepping on a different animal each time. Tharhul follows the route along the west wall, blocking up the ominous-looking holes in the wall with a torn shirt. When he reaches the other side safely, the others follow. They navigate the small maze beyond, triggering a swinging blade trap which wounds Eysleigh, and retrieve Ijin’s puzzle cube.
Back outside, the characters head south, staying close to the river, and are attacked by a shambling mound. Eysleigh casts blight,dealing maximum damage and destroying the creature.
The group spot a fallen tree spanning the river, wide enough for even Vorn to cross, but decide to continue south to Shagambi’s Shrine. They kill the pair of kamadans outside; Certes and Rhamash adopt their three orphaned cubs.
Entering the shrine, the characters follow the sloping passageway down to the gladiatorial pit. Four painted clay constructs armed with spears and shields emerge from their cells and attack the group. Certes casts slow, slowing just one gladiator but also affecting Tharhul and Tyke. The constructs kill Tyke and Buzzter and defeat two pterodactyls summoned by Eysleigh. As the other characters flee, Tharhul is knocked prone and is down to less than 10 hp. Realising the minotaur is in trouble, they return to help him out. Certes casts fireball, destroying one of the clay gladiators. Rhamash grabs its bronze spear, and the adventurers retreat upstairs.
If you’d like to keep up to date with my Tomb of Annihilation campaign and other posts, please do join my mailing list – there’s a sign up form below and subscribers receive a free Parsantium supplement.
Discover more from Richard Green | Game Designer
Subscribe to get the latest posts sent to your email.
