
Tyranny of Dragons was the first full D&D 5e campaign I ran, starting back in 2015. Here’s the write up from the 20th session in which we continued with The Rise of Tiamat.
One thing I enjoyed a lot about this campaign was getting to use lore and locations from my large library of Forgotten Realms books and Dragon magazines from AD&D onwards, and this session was no exception. I also got to use a fun monster from Tome of Beasts, the blemmyes, in this game. I know a lot of DMs aren’t comfortable with long road trips between adventure locations, but I’ve always enjoyed giving my players the opportunity to experience the breadth and depth of a campaign setting.
Begin here with Session 1 – Greenest in Flames.
Downtime in Waterdeep, 22nd – 28th Eleint
Crake spends the week disguised as his noble alter ego and hobnobs with a bunch of wealthy merchants, beating them at cards.
Gwastdyn visits Sir Trodeng d’Visir’s menagerie outside the city and studies some of the exhibits so he can wildshape into their forms.
Rosie makes contact with the Zhentarim in Manysteps Alley. As well as Jamna Gleamsilver, she runs into Tyler Logan (the cell leader she had a run in with last time she was in Waterdeep) again – there is clearly no love lost between the pair. Jamna gives Rosie a sending stone and asks her to keep in regular contact.
Turin visits New Olamn College and learns some new songs to play on his cittern.
Ug visits the House of Wonder and agrees to undertake a quest to bring back a circlet of seven serpents to the temple.
29th Eleint – 20th Marpenoth
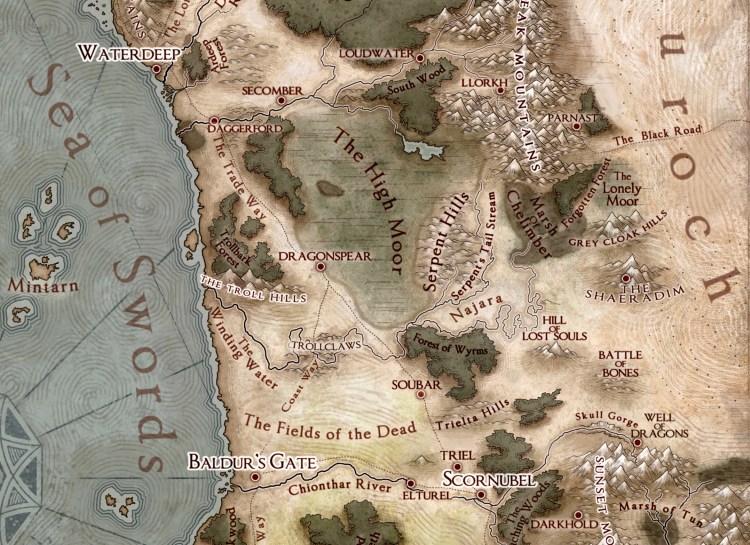
The party travel south from Waterdeep to Boareskyr Bridge, dealing with a group of dragon cultists who attacked a caravan near Daggerford.
At Dragonspear Castle, zombies clamber out of the ground to attack the party, but Gwastdyn, wildshaped into a giant eagle, swoops down and carries them off before dropping them to their doom. Unfortunately the druid’s flight over the castle is cut short when he slams straight into a wall of force, and has to be rescued by Crake.
21st Marpenoth
The adventurers defeat a second band of dragon cultists on the Trade Way. Gwastdyn wildshapes into a giant elk and squishes the dragonsoul leader with his hooves after Rosie polymorphs him into a crayfish.
22nd Marpenoth
The party arrive at Boareskyr Bridge, spending the night in Bolo’s Tentside Inn. They learn that Varram the White killed a “scaled folk” spy before heading into the hills with over a dozen men. Rosie sends a report to Jamna using her sending stone.
24th Marpenoth
The characters head into the Serpent Hills following Varram’s trail. They kill a weird-looking blemmyes with an effective combination of summoned wolves and Turin’s dissonant whispers, and rescue the two tribesmen it had captured for its dinner.
25th Marpenoth
The trail leads through an arch formed from the coils of a great petrified serpent. At Ug’s insistence, the characters climb up the slope to the serpent’s “head” and go inside. When they spot a shimmering portal inside its mouth, they decide to return to the trail and their mission, much to the paladin’s disappointment.
27th Marpenoth
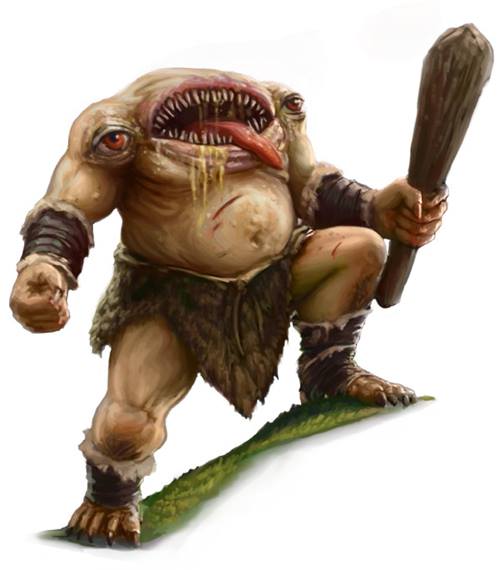
The adventurers arrive outside the Tomb of Diderius. They explore the ruined buildings but give the two giant statues flanking the entrance to the tomb a wide berth. Camping for the night inside a crumbling tower, they are attacked by three trolls. Rosie falls unconscious twice, but the adventurers manage to kill two of the foul creatures. The third one escapes down the well outside after Turin casts compulsion and sends it packing.
28th Marpenoth
The characters decide to dig up one of the shallow graves they found outside the tomb – the body inside hasn’t been dead long and still shows signs of both bludgeoning and slashing wounds. Ug approaches the statues which animate and speak to the party, asking them if they seek wisdom or knowledge. The adventurers reply that they “seek wisdom” which appears to satisfy them “as long as you show proper respect”.
Using magic, the characters get up to the ledge holding the tomb entrance. Gwastdyn wildshapes into an eagle and flies inside past six cowled wizard statues. The room beyond is decorated with a mosaic depicting a knight in shining armour battling a chimera. When the adventurers enter the room, the chimera rises from the mosaic and attacks. After breathing fire on the heroes standing in the entrance, it flies up to the ledge around the room. Ug isn’t about to let another flying monster get the better of him and misty steps up there to attack it, joined by Gwastdyn. The others attack from range – Crake finishes it off with an arrow.
Behind the door marked “SAFE” in chalk is a round chamber containing a well and a stone basin. Ug fills the bucket from the well a couple of times, empyting the water into the basin and pulling the lever on the wall. The water empties out but the characters can’t figure out where it’s gone. Back in the mosaic room, Ug wrenches open the bulging double doors to the north, sending a load of rubble crashing into the room, nearly burying Rosie.
The corridor to the southeast seems to be the only way to go now….
If you’d like to keep up to date with my Tyranny of Dragons campaign and other posts, please do join my mailing list – there’s a sign up form on the home page and subscribers receive a free Parsantium supplement.
If you’ve already signed up and haven’t received a download link, please get in touch.
Tiamat image by Michael Komarck
Discover more from Richard Green | Game Designer
Subscribe to get the latest posts sent to your email.

Sounds like a fun journey. I think playing out the travel like this really drives home to players just how much ground they are covering. It does a lot to make the world feel real.
LikeLiked by 1 person